Görünce paylaşmadan edemedim 
- Alıntıdır -

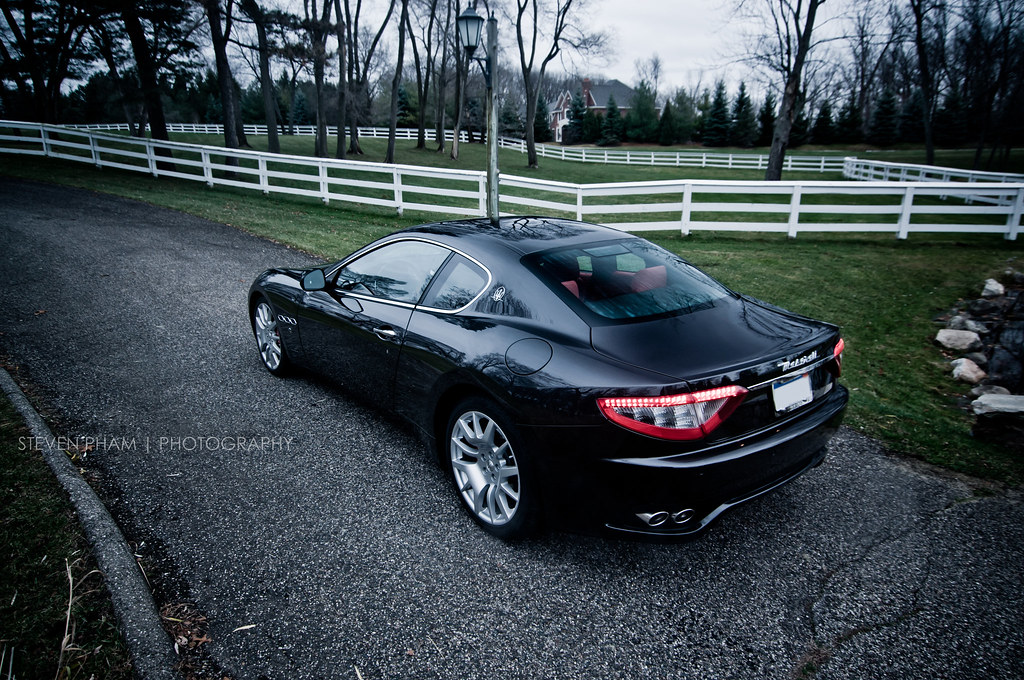
The owner of this vehicle is someone we've done previous work for on other cars, but came to us this time to have his daily driver refreshed. With over 32k miles, I was surprised by the overall nice condition of the vehicle. The interior was in over-all good shape aside from the leather needing extra attention, and a few Random Isolated Deep Scratches; the paint looked better than average as a whole.
We completed the work on this vehicle over two days, with the first day focusing on the vehicle's exterior. The biggest concern we had on day one was to restore clarity in the finish: marring, swirls, and some hack-quality buffing meant that the true color and brilliance wasn't showing through.


A dirty engine bay shouldn't affect performance, but we all know a clean car rides smoother and pulls harder

Dirty exhaust tips take away from a clean appearance, especially when they're highly visible.

The wheels were what I would first start on. As normal with guys that love their cars; the faces weren't all too bad, but the inside of the wheel and calipers hadn't been properly cleaned likely ever.

P21S Wheel Cleaner Gel paired with a Swissvax wheel brush (for lug nuts, center caps, and the calipers), an EZ Detail brush (for the inside of the wheel and behind the spokes), and a soft brush for the wheel faces and spokes worked very well to eliminate brake dust and grime.


In the mean time, Jacob began on the engine bay using Meguiar's All Purpose Cleaner Plus and a boar's hair brush.


Rinse and flush!


Prior to being washed, the license plate was removed. There was an unexpected amount of grime build up around the screws and plate that would later be cleaned using All Purpose Cleaner and Klasse All In One.


A mixture of Chemical Guy's Citrus Wash and Chemical Guy's Grime Reaper was foamed onto the car and allowed to dwell to remove loose contamination and to soften any remaining grime. It was then rinsed off, and finally re-foamed for the actual wash.


After being washed, the vehicle was clayed to remove surface contamination. Typical contamination problems on the lower portions, behind the wheels, and the rear-end were encountered and removed.


Before we got began rinsing and drying the vehicle, I wanted to attend to the nasty looking key holes. If left untouched, they'd be a sore spot that would stick out. P21S Total Auto Wash, Q-Tips, and a tooth-brush worked wonders.


It's important to be cautious with those dangerous bristles around the paint, but nothing else will effectively clean the contact patch that the key touches.


With that speed bump out of the way, the Maserati could be rinsed and dried, and then taped off for paint correction.
After testing a few combinations, we settled on an amazing combo that allowed 95% correction with optimal clarity in two steps.

With white balance corrected on the camera:

Brinkmann Dual LED:


- Alıntıdır -

The owner of this vehicle is someone we've done previous work for on other cars, but came to us this time to have his daily driver refreshed. With over 32k miles, I was surprised by the overall nice condition of the vehicle. The interior was in over-all good shape aside from the leather needing extra attention, and a few Random Isolated Deep Scratches; the paint looked better than average as a whole.
We completed the work on this vehicle over two days, with the first day focusing on the vehicle's exterior. The biggest concern we had on day one was to restore clarity in the finish: marring, swirls, and some hack-quality buffing meant that the true color and brilliance wasn't showing through.


A dirty engine bay shouldn't affect performance, but we all know a clean car rides smoother and pulls harder


Dirty exhaust tips take away from a clean appearance, especially when they're highly visible.

The wheels were what I would first start on. As normal with guys that love their cars; the faces weren't all too bad, but the inside of the wheel and calipers hadn't been properly cleaned likely ever.

P21S Wheel Cleaner Gel paired with a Swissvax wheel brush (for lug nuts, center caps, and the calipers), an EZ Detail brush (for the inside of the wheel and behind the spokes), and a soft brush for the wheel faces and spokes worked very well to eliminate brake dust and grime.


In the mean time, Jacob began on the engine bay using Meguiar's All Purpose Cleaner Plus and a boar's hair brush.


Rinse and flush!


Prior to being washed, the license plate was removed. There was an unexpected amount of grime build up around the screws and plate that would later be cleaned using All Purpose Cleaner and Klasse All In One.


A mixture of Chemical Guy's Citrus Wash and Chemical Guy's Grime Reaper was foamed onto the car and allowed to dwell to remove loose contamination and to soften any remaining grime. It was then rinsed off, and finally re-foamed for the actual wash.


After being washed, the vehicle was clayed to remove surface contamination. Typical contamination problems on the lower portions, behind the wheels, and the rear-end were encountered and removed.


Before we got began rinsing and drying the vehicle, I wanted to attend to the nasty looking key holes. If left untouched, they'd be a sore spot that would stick out. P21S Total Auto Wash, Q-Tips, and a tooth-brush worked wonders.


It's important to be cautious with those dangerous bristles around the paint, but nothing else will effectively clean the contact patch that the key touches.


With that speed bump out of the way, the Maserati could be rinsed and dried, and then taped off for paint correction.
After testing a few combinations, we settled on an amazing combo that allowed 95% correction with optimal clarity in two steps.

With white balance corrected on the camera:

Brinkmann Dual LED:


Yorum